Review Time: National Geographic Crystal Growing Kit
/My son, Caleb, is 4.5 years old and his latest interest has been in rocks and gems. He found this triangle-shaped rock at the beach and was so excited because he found a gem rock. Do you know what a gem rock is? I only just learned of these magical rocks. They give you three powers; the power of strength, the power of speed, and the power of knowledge. The most awesome thing about it, he really believes it.
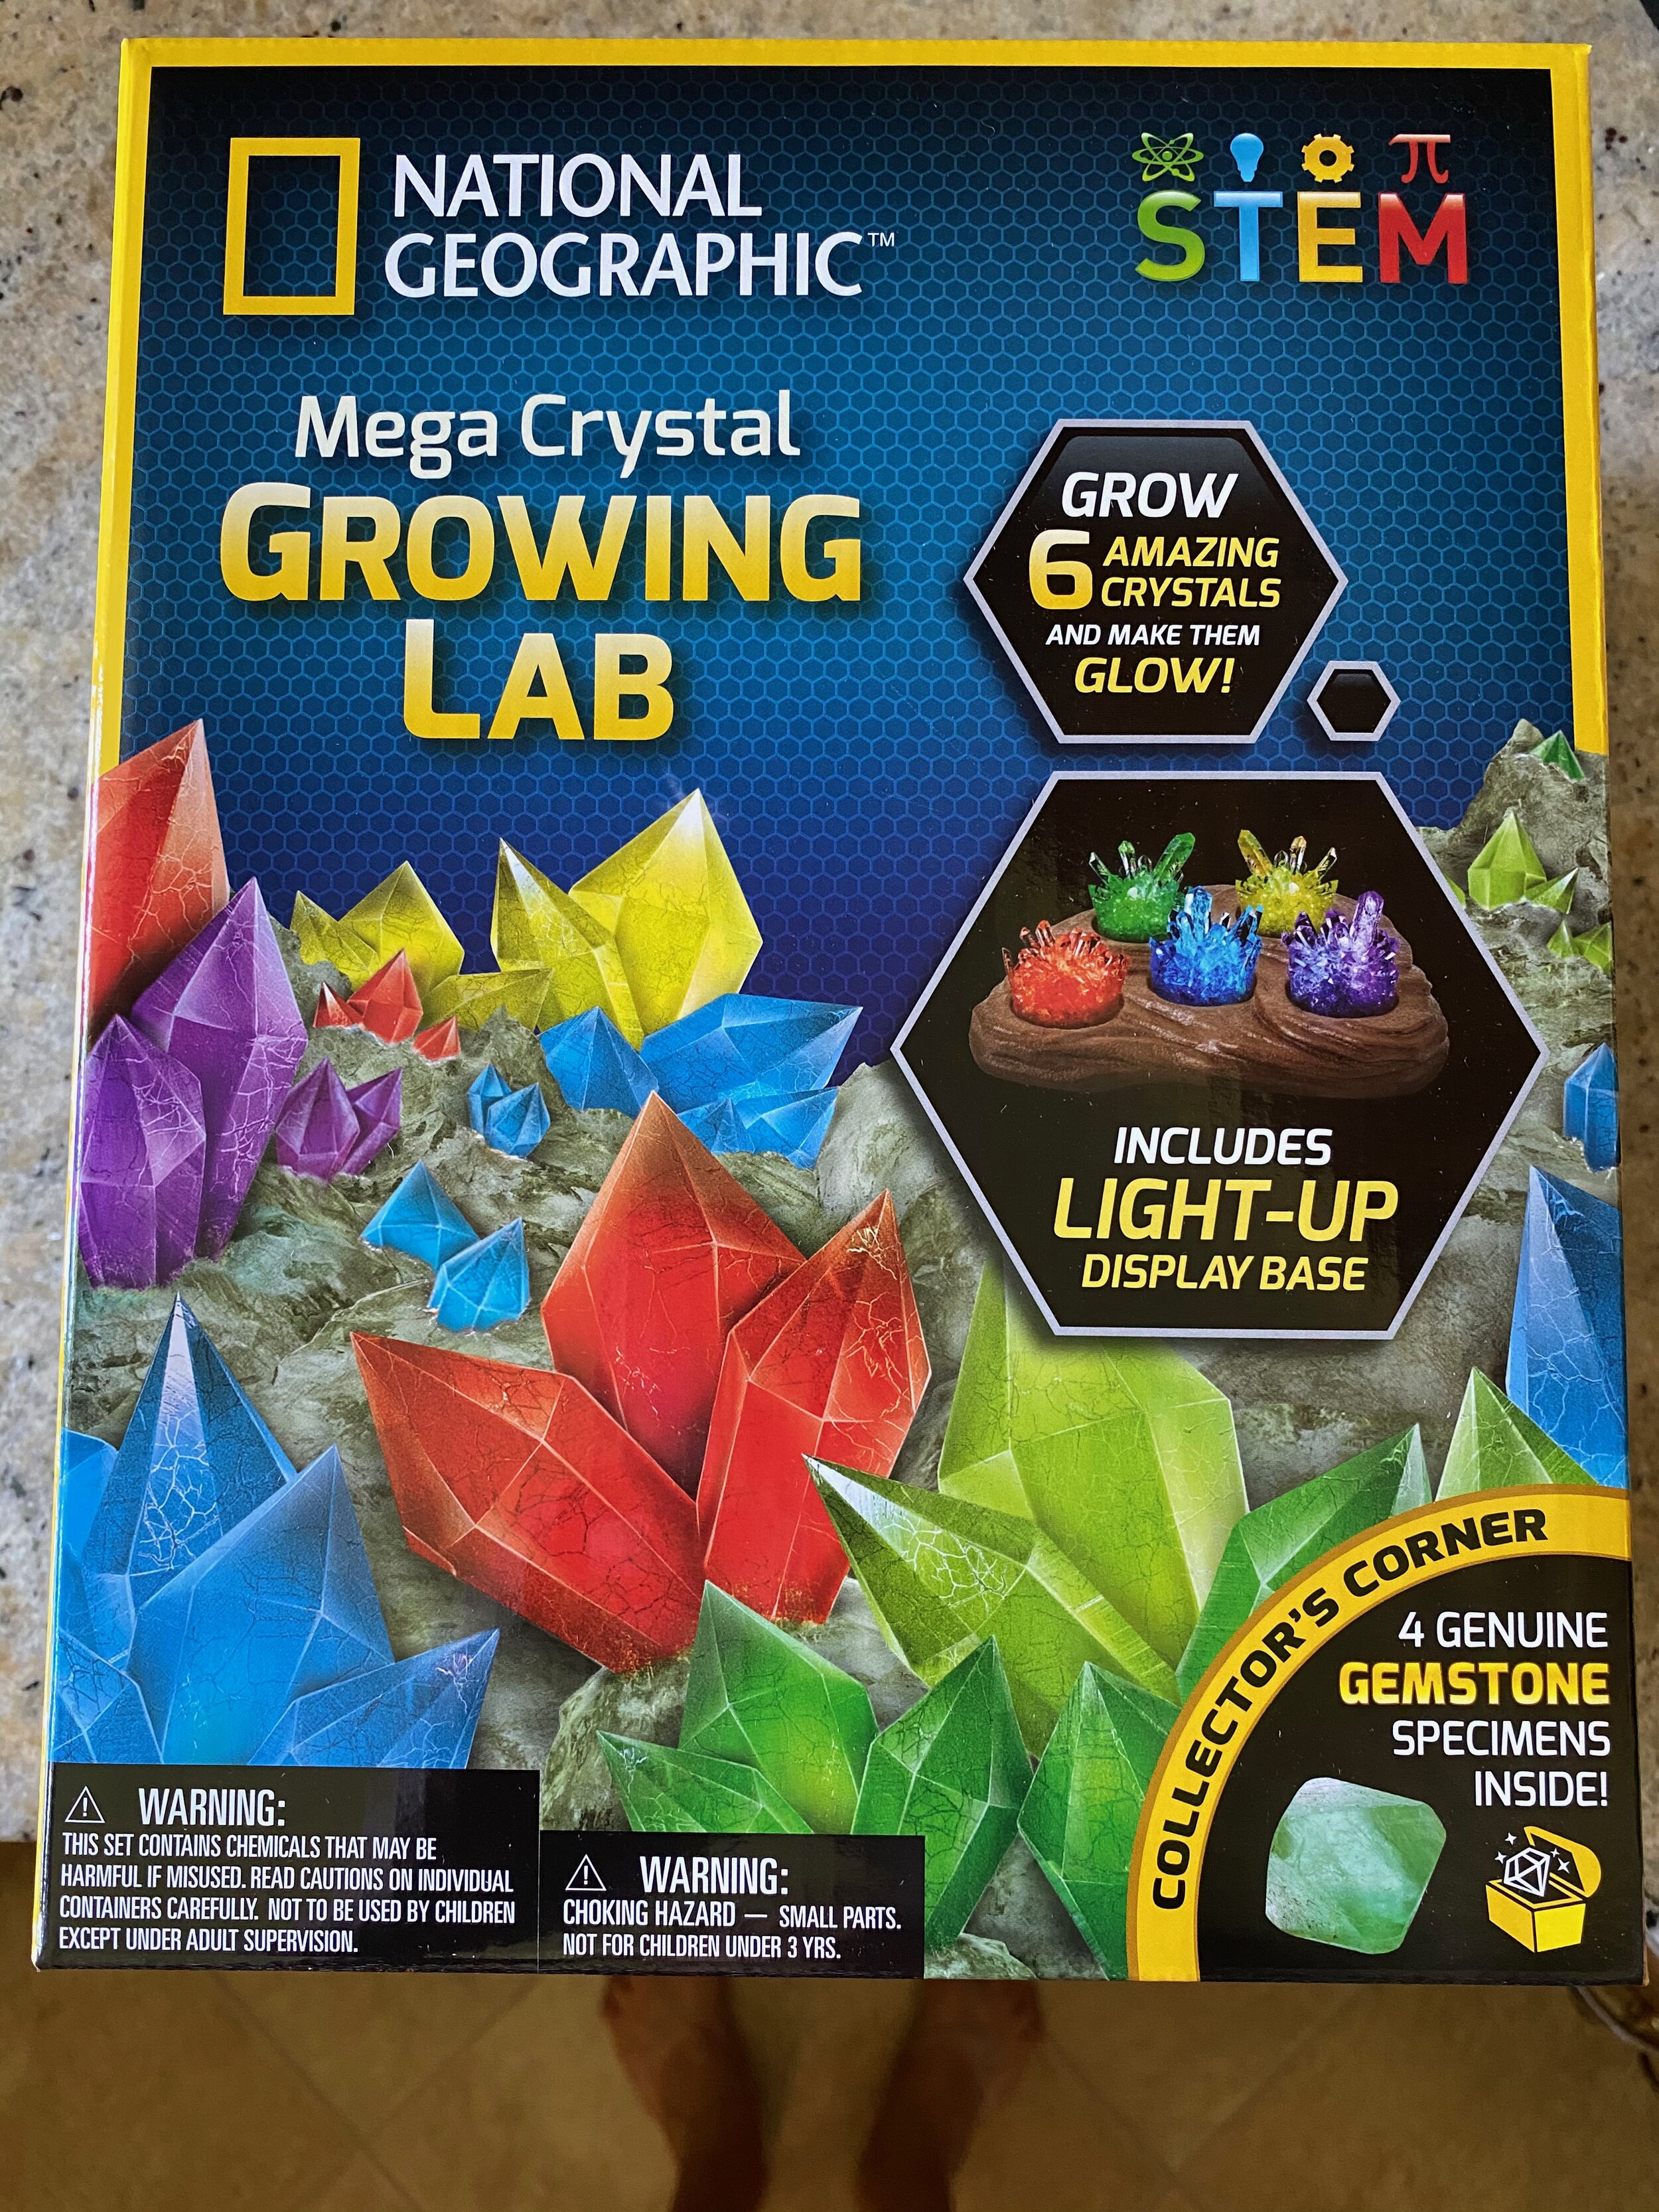
Given this newfound power (and love) for rocks and gems, I started to search for ways to promote his new interest. I was browsing Amazon and came across the National Geographic Mega Crystal Growing Lab kit, and knew this would be a hit. I added it to Caleb’s Amazon “wishlist” until a good reason popped up to purchase it. The lucky kid didn’t have to wait long because the grandparents saw me add it (apparently notifications get sent, ha!) and they sent it at as “just because” gift. Aren’t grandparents great?
I thought I’d give you the rundown on this kit experience in case you’re wondering whether to invest in it for your kid(s). I always love a good insider view of a toy or activity. So pretend I’m your mom-friend and we’re trying to chat over our kids playing in the background and let me share my experience.
What you get
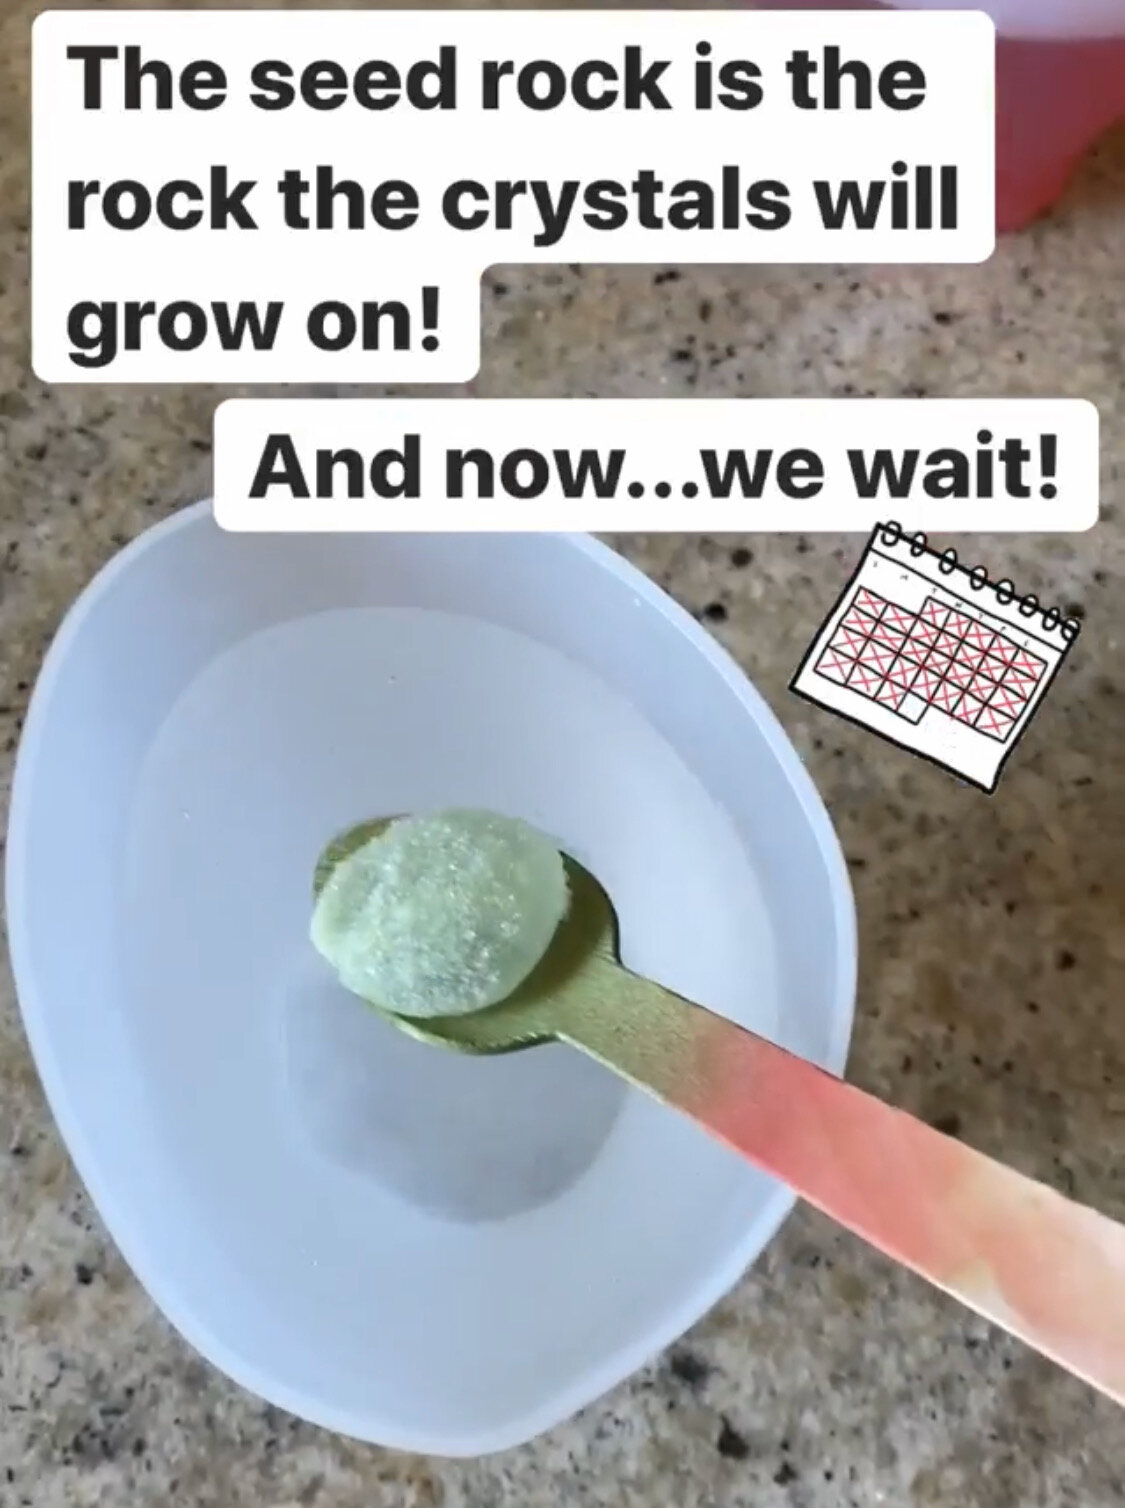
Seed Rocks - Pebble-type rock that you put in the chamber from which the crystals will grow.
Crystal Powder - The powder you put in the growing chamber to grow the crystals. You get six colors: red, green, blue, yellow, purple, and glow in the dark (GID).
Crystal Growing Chamber - Silicon cup that you can use to grow the crystals. You can also use a jar from home if you want, but more the “con” of that later.
Wooden Spoon - To stir the crystal powder in the chamber with water.
Booklet - The booklet has information on how to grow the crystals from the kit as well as information about crystals and the gemstones that came with the kit.
Gemstones - You get four real gemstones!
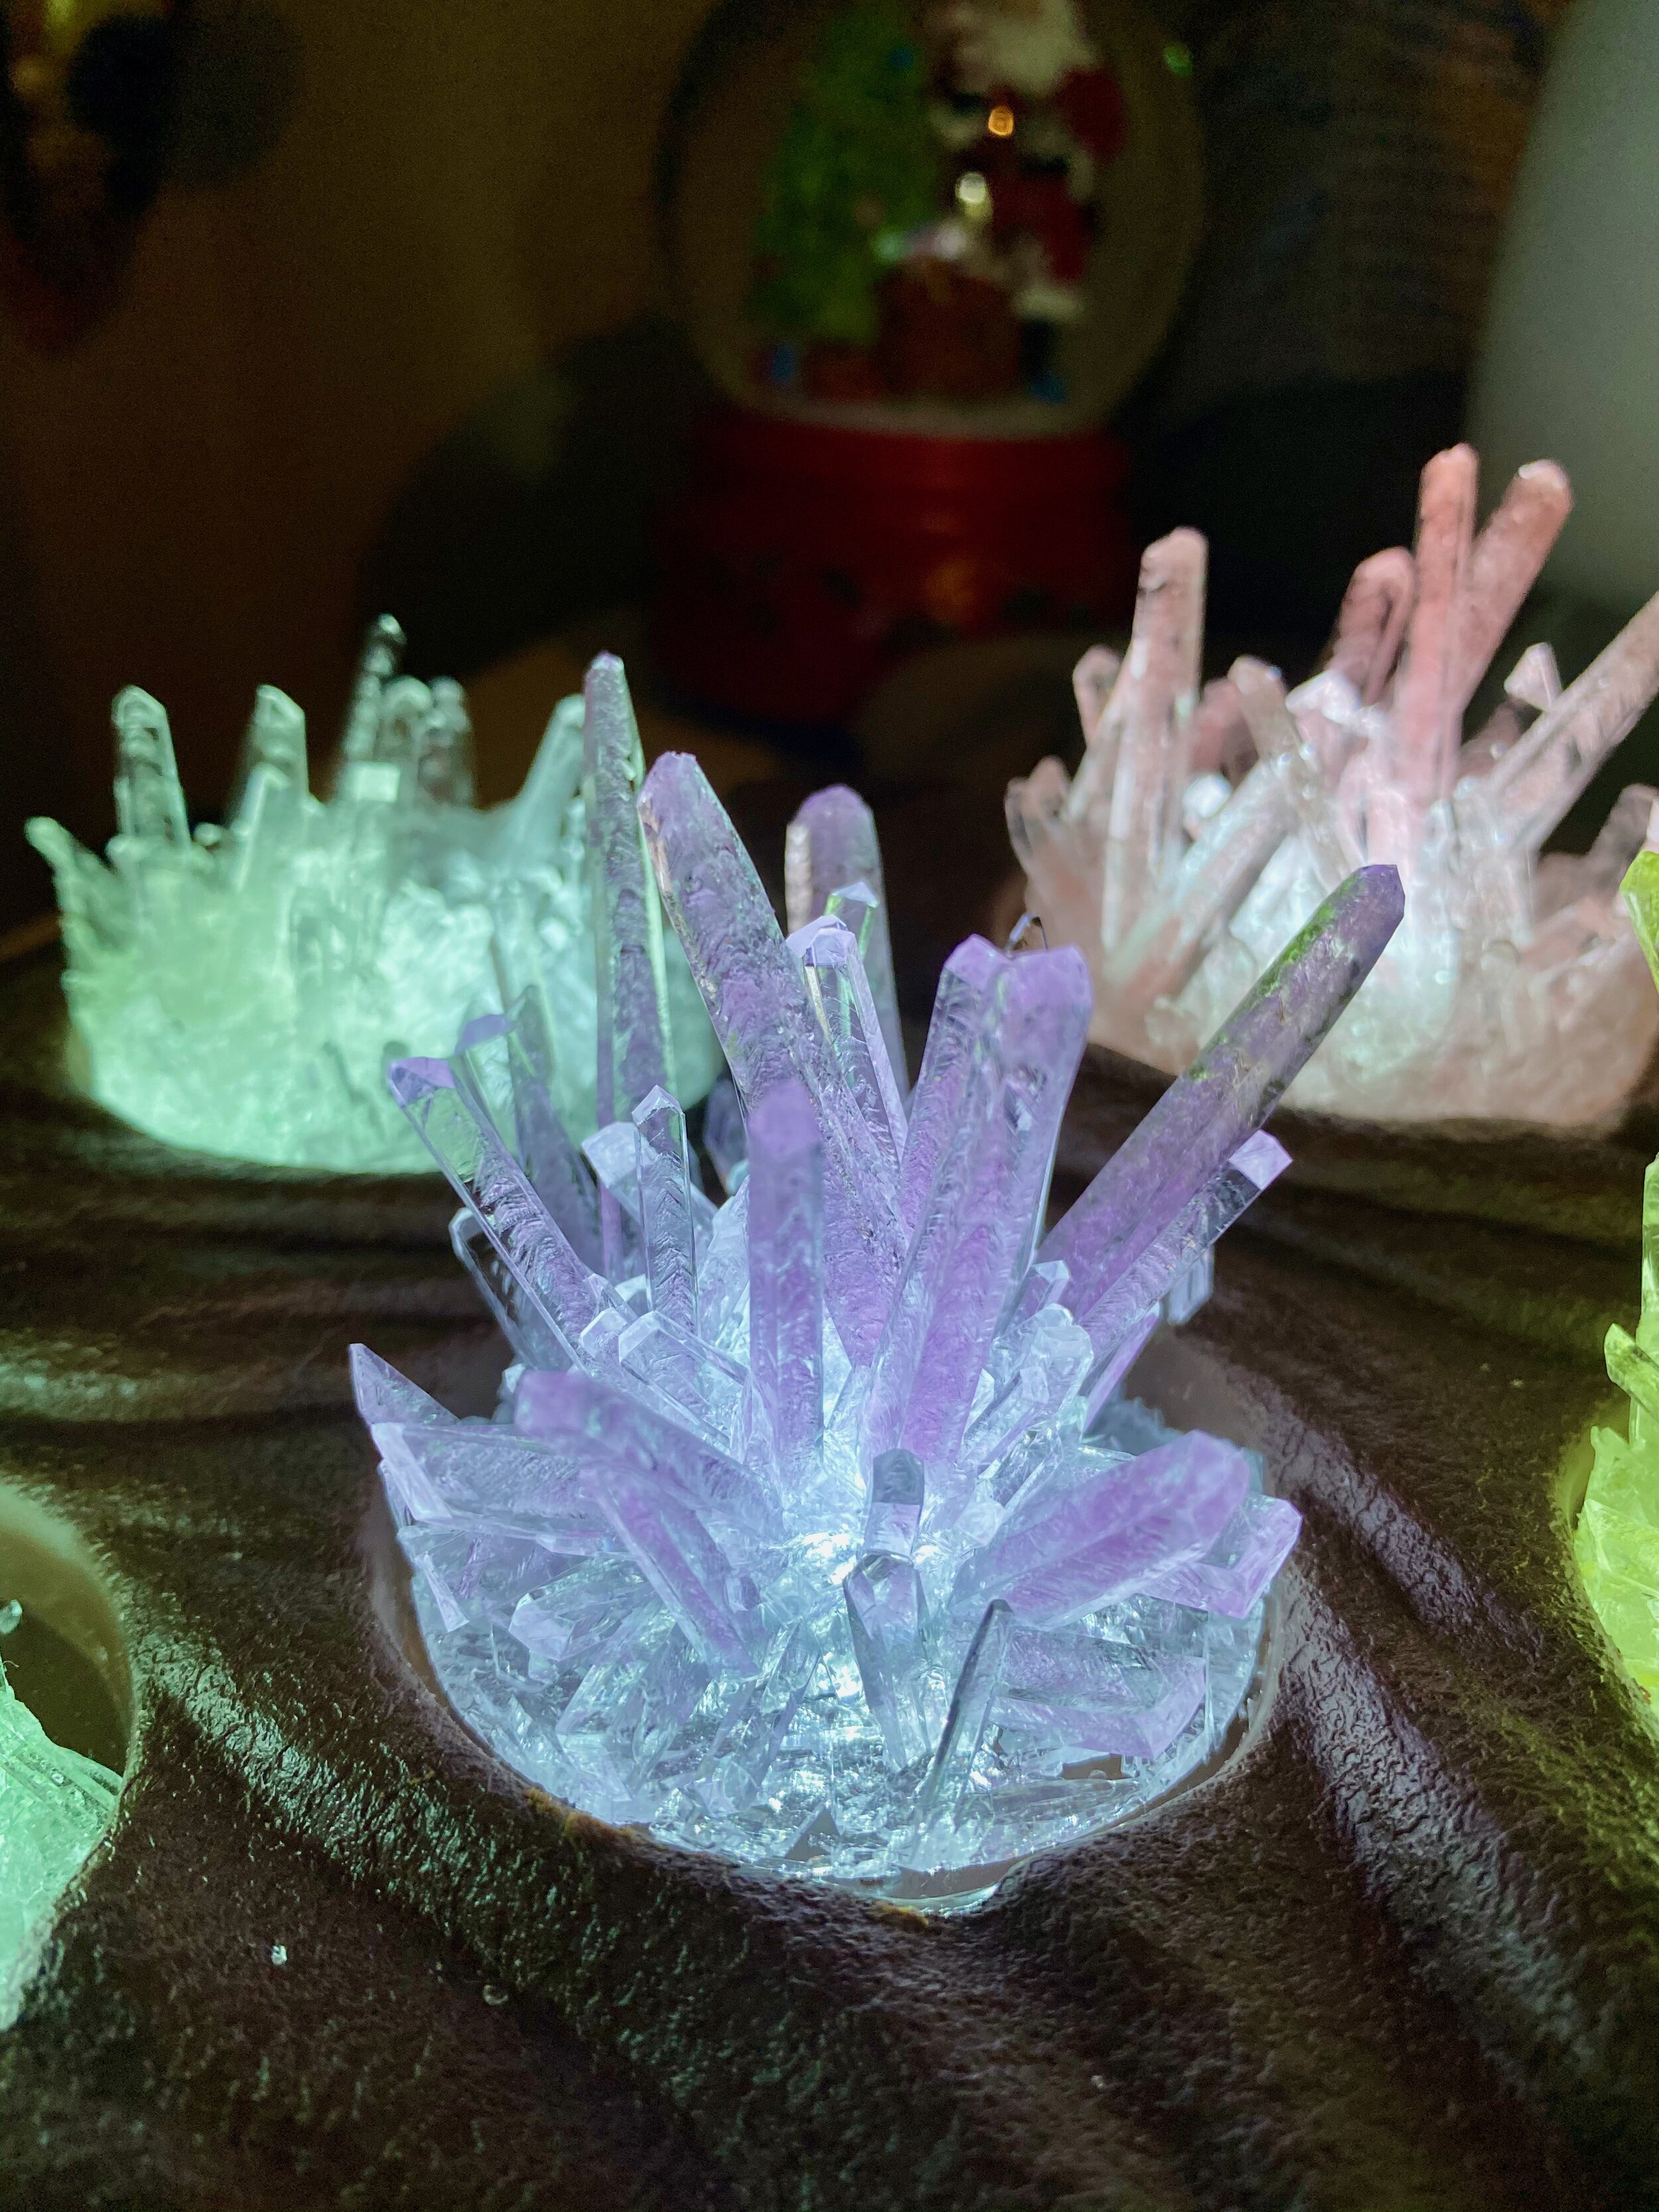
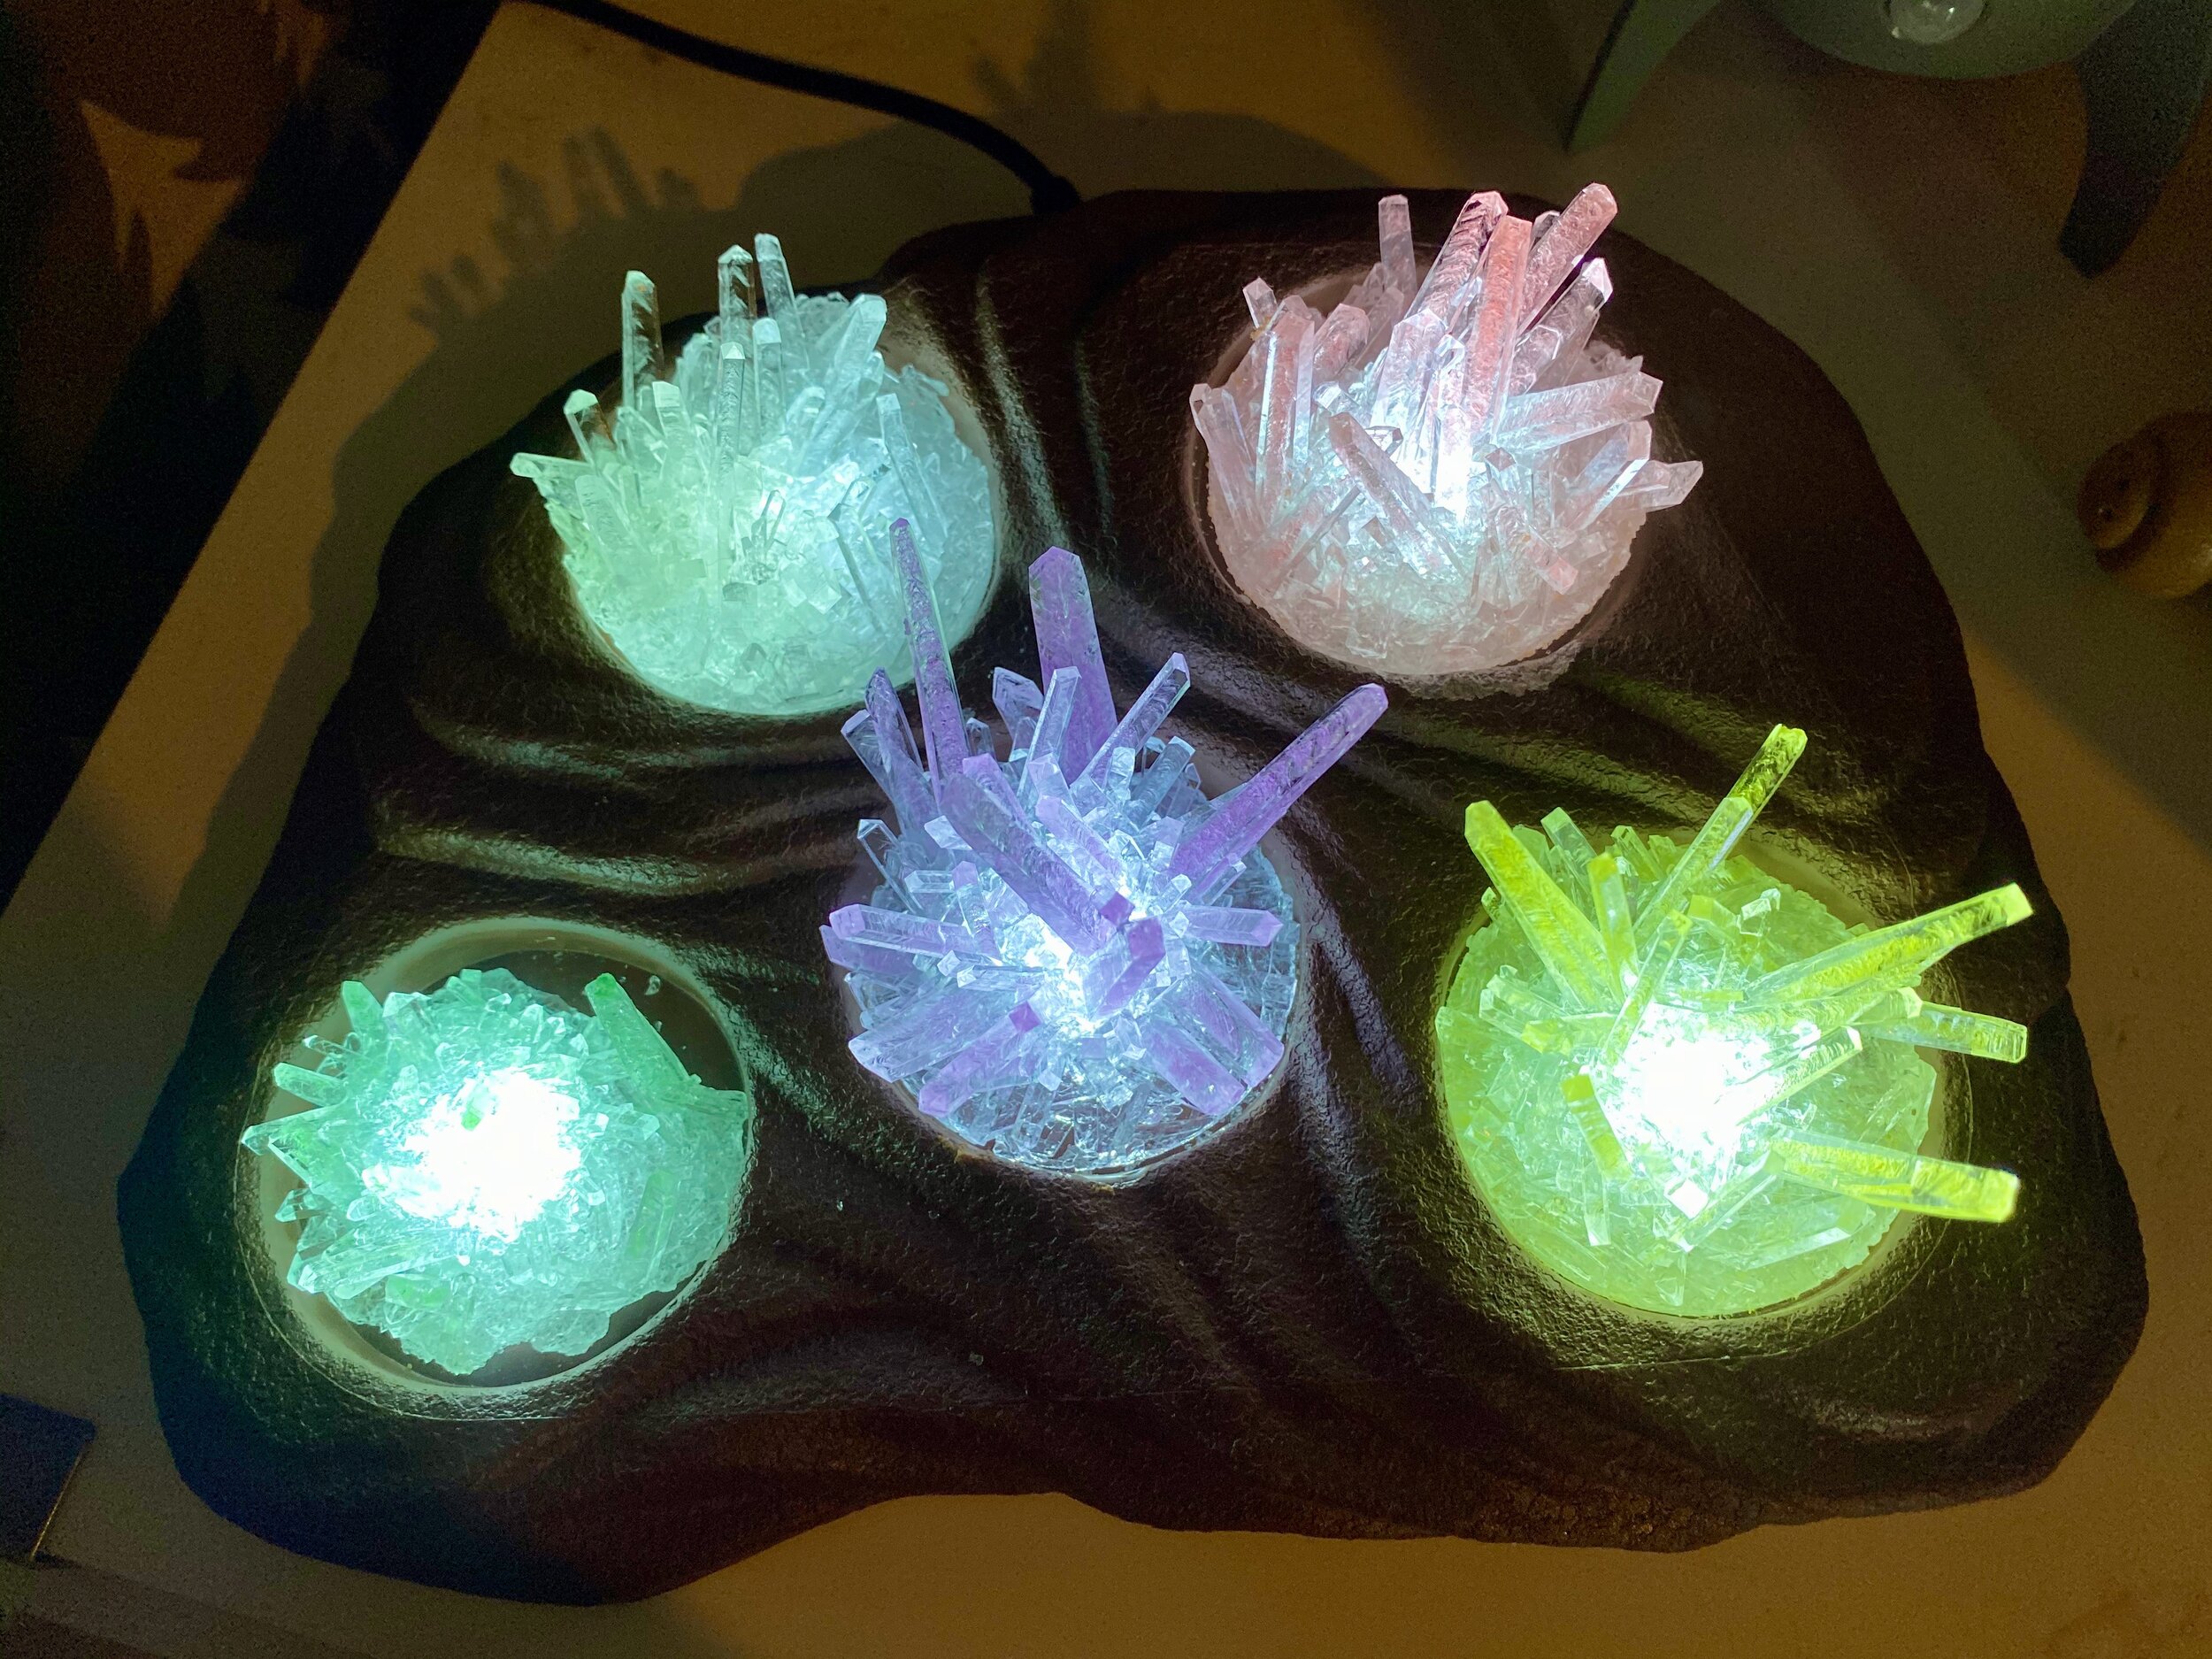
Display Stand - A stand that lights up so you can display all the crystals.
The Process in a Nutshell
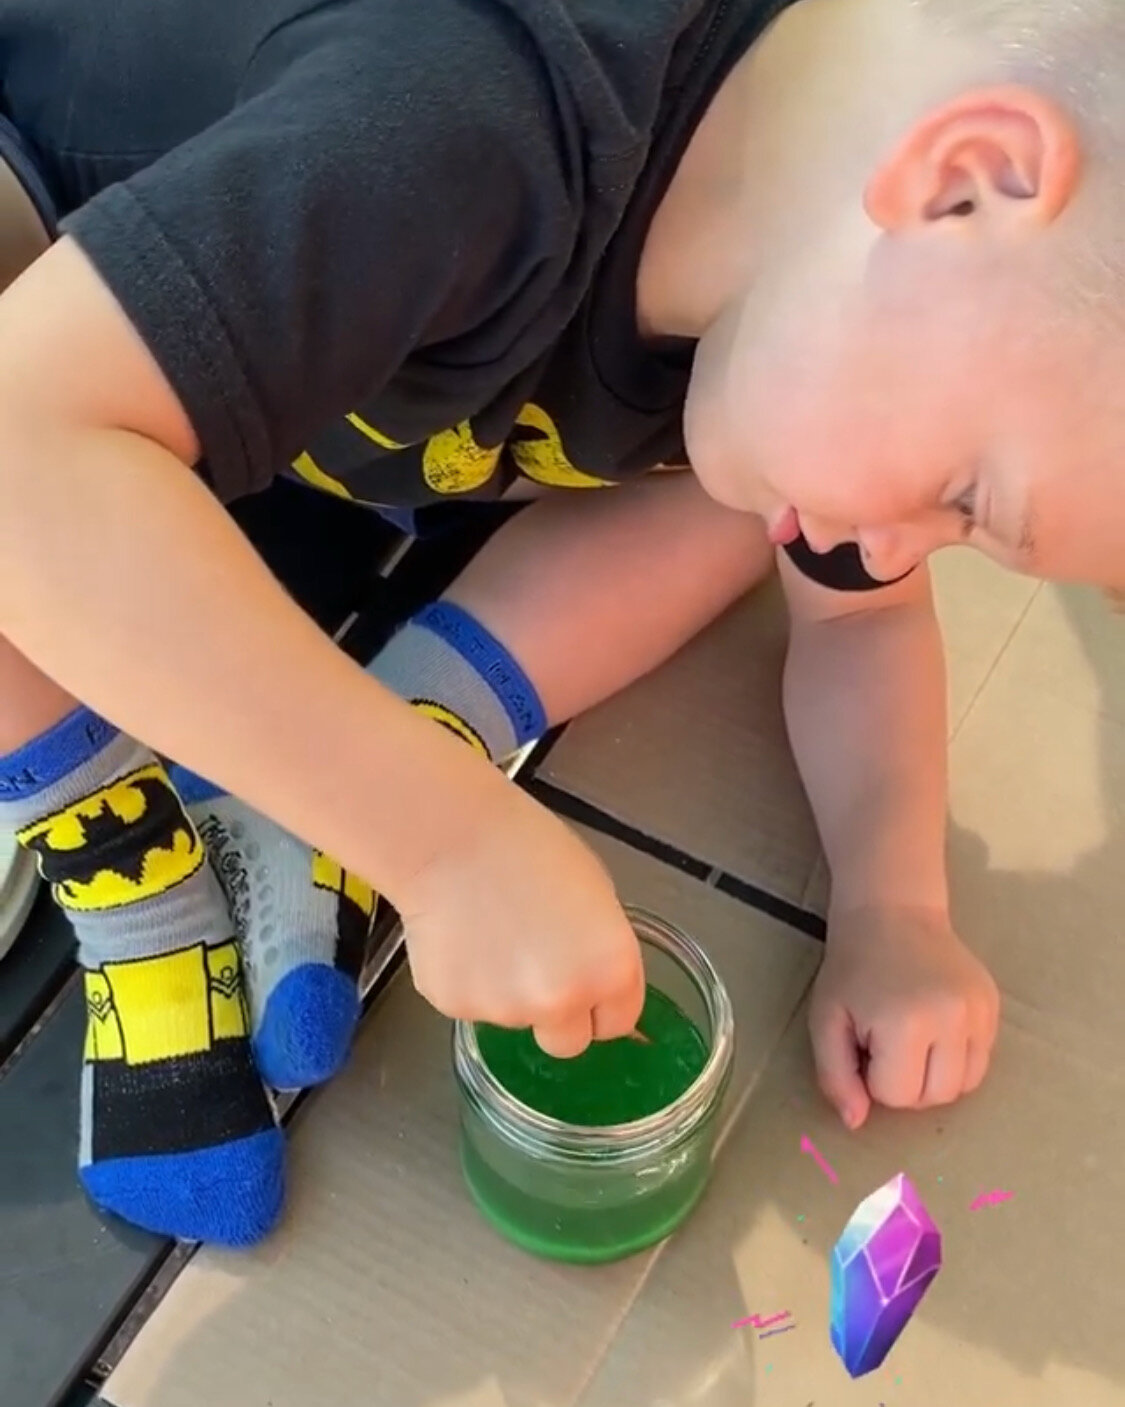
Super easy here friends. The initial day is crystal making. Gather everything and get to work. You pour hot water into the silicon cup and then add the crystal powder. Stir for two minutes. Then add the seed rock. Find a nice, stable spot for them to grow. Watch for days. Then remove them carefully by applying a little pressure to the bottom and sides of the cup, and it should pop up. We washed them off and let them dry. We opted not to remove the seed rock (see tips below). Then we put them on display.
Pros and Cons
Pros:
Easy to Make - In the words of my son, “easy peasy lemon squeezey!” See the process above…yup, easy.
Not Too Messy - The messiest part is the adding and stirring of the crystal powder to the water. A few drops here and there, but otherwise I feel you’ll step away from this experiment with minimal clean-up.
Indoor Experiment - This goes along with the point above, but I want to call it out because sometimes you need a good indoor experiment for days with inclement weather (or smoke!). This can be your project.
Learning Experience - This opens the door to all sorts of education discussions about gems and rocks. The booklet is handy for this as well with some information about rocks gemstones and whatnot.
Comes with Everything you Need - The only additional item you’ll need for this experiment is water. You can try using your own jars for making more than two at a time, but I don’t recommend it. And I feel like you really get a lot in the kit. I was pleasantly surprised with the number of colors and the glow in the dark addition.
Super Rad - Umm, this is a given, but crystals are rad. ‘Nuf said.
Cons:
Hands-on for Parents - Older kids might not need as much parent involvement, but younger kids will definitely need you to be involved in the process. The making of the crystals involves hot water. Then the crystals need to be still and not moved while growing, so you need to monitor your kids around them. I was also in charge of progress through the days and deciding when they were done. However, they can totally do a large part of the making of the crystal…just be there to help. Of course, there is a pro here as well, in that you get to spend some quality time learning with your kid!
Crystal Growing takes Time - Our crystals needed seven days to grow. For a young kid, this is forever…this isn’t an instant gratification type experiment. My son lost interest after the initial making of the crystals, but fear not, his interest returned when it was time to take them out.
Only 2 Growing Chambers - This was a minor grumble of mine. Without a doubt it was much easier and the result was much better when we used the silicon cups that came with the kit. The crystal we grew in our own jar was hard to remove and had more jagged edges. The crystals from the provided cups popped out much better and the base fit into the display case perfectly (the jar crystal didn’t fit great in the display). Additionally, if you just want to use just the provided cups, then you have to make them one after the other. This does extend the growing time (maybe this makes you happy? If so, make it a “pro”).
No Movement - The crystals need to be kept still while growing or apparently they won’t turn out as well. So you’ll need to find a spot where your kids (at least, young ones) won’t “mess with it.” But then you’ll be required to lift them out (ouch, back!) to show them the progress. If you keep it low, you’ll have to be very vigilant.
Delicate & Sharp Crystals - Honestly, they aren’t that delicate and that sharp, but I wouldn’t want my younger son to get his hands on them.
Poor Growth Viewing - The silicon cups along with the crystal solution make it cloudy and hard to see as the crystals grow. But all the more surprise factor when you remove them.
Display in Kids Room - The display nightlight stand is a great idea and I totally applaud the makers for including it. However, it made my son desperately want it in his room. It lasted much longer than I thought, but just the other day I caught him smashing the crystals with the toy hammer and there were crystals all over the carpet. Sad face (sad = crystals broke + we had to clean up). He said he was making them less sharp and on the bright side he doesn’t seem to mind they are all broken. Other than this, the display is a “pro.”
Tips
Timing - We definitely went for the whole seven days. The instructions say it could go as quickly as three days, but that just wasn’t our experience. An Amazon reviewer mentioned they went like five weeks and got super large crystals. We’re down with ours, but you can give it a whirl.
Seed Rock Removal- The instructions indicate to remove the seed rock when you’re done. I decided to leave it in; I didn’t want to risk breaking the crystal nor did I want to take the time. They still look great and fit in our display. Maybe it’d look even cooler if we took them out, but we’re already impressed…so yea.
Aluminum Pot - Amazon reviews noted not to use an aluminum pot to warm up the water. Apparently it will react with the mix and you will end up with crystalline cotton candy.
Dark Vs. Light - The instructions say to put them in a dark place to grow. I put them in a semi-light spot, but it was still by a window. If I put them in a dark spot, then it would be hard to watch them grow, so I met the instructions halfway. Add to your experiment and see what happens if you put one in the dark and one in the light. I’m curious!
The Verdict
MY OVERALL RECOMMENDATION = THUMBS UP
The moment of truth…would I recommend this experiment. I feel like my cons are lengthier than my pros, and yet I would totally recommend it! Especially if your kid(s) have any interest in gemstones, rocks, crystals.
Where to Get the Kit: Amazon!
[Note: This is purely my own opinion and it was my decision to write this review post. I will not receive any financial reimbursement for this review nor is this an affiliate link.]
Photos and Videos
Here are all our crystal-making Instagram stories consolidated into a movie
I did a lot of sharing on my Instagram stories, so be sure to follow me on Instagram for more fun things like this!

