Shaken, Not Stirred, Rice Colored Easter Eggs
/
I know I said I was going to do Kool-aid dyed eggs this year, but I lied. I didn’t know I was lying, but I did. I was surprised to find the markets all lacking in Kool-aid flavors in the small packets. I wasn’t about to purchase a big thing of Kool-aid powder nor was I ready to go on a crusade to different stores to find it. I went to two different Safeways and Target, but nothing. Sure, I could have gone to Fred Meyers or Walmart, but I decided it wasn’t meant to be.
I also think the Kool-aid idea went down in favor ever since I came across this rice idea. The rice seemed like a less-mess and more kid-friendly craft. Kool-aid can be a terrible stain to get out. And I imagine Caleb would want to keep trying to grab the eggs in the cups. So I swapped ideas last minute.
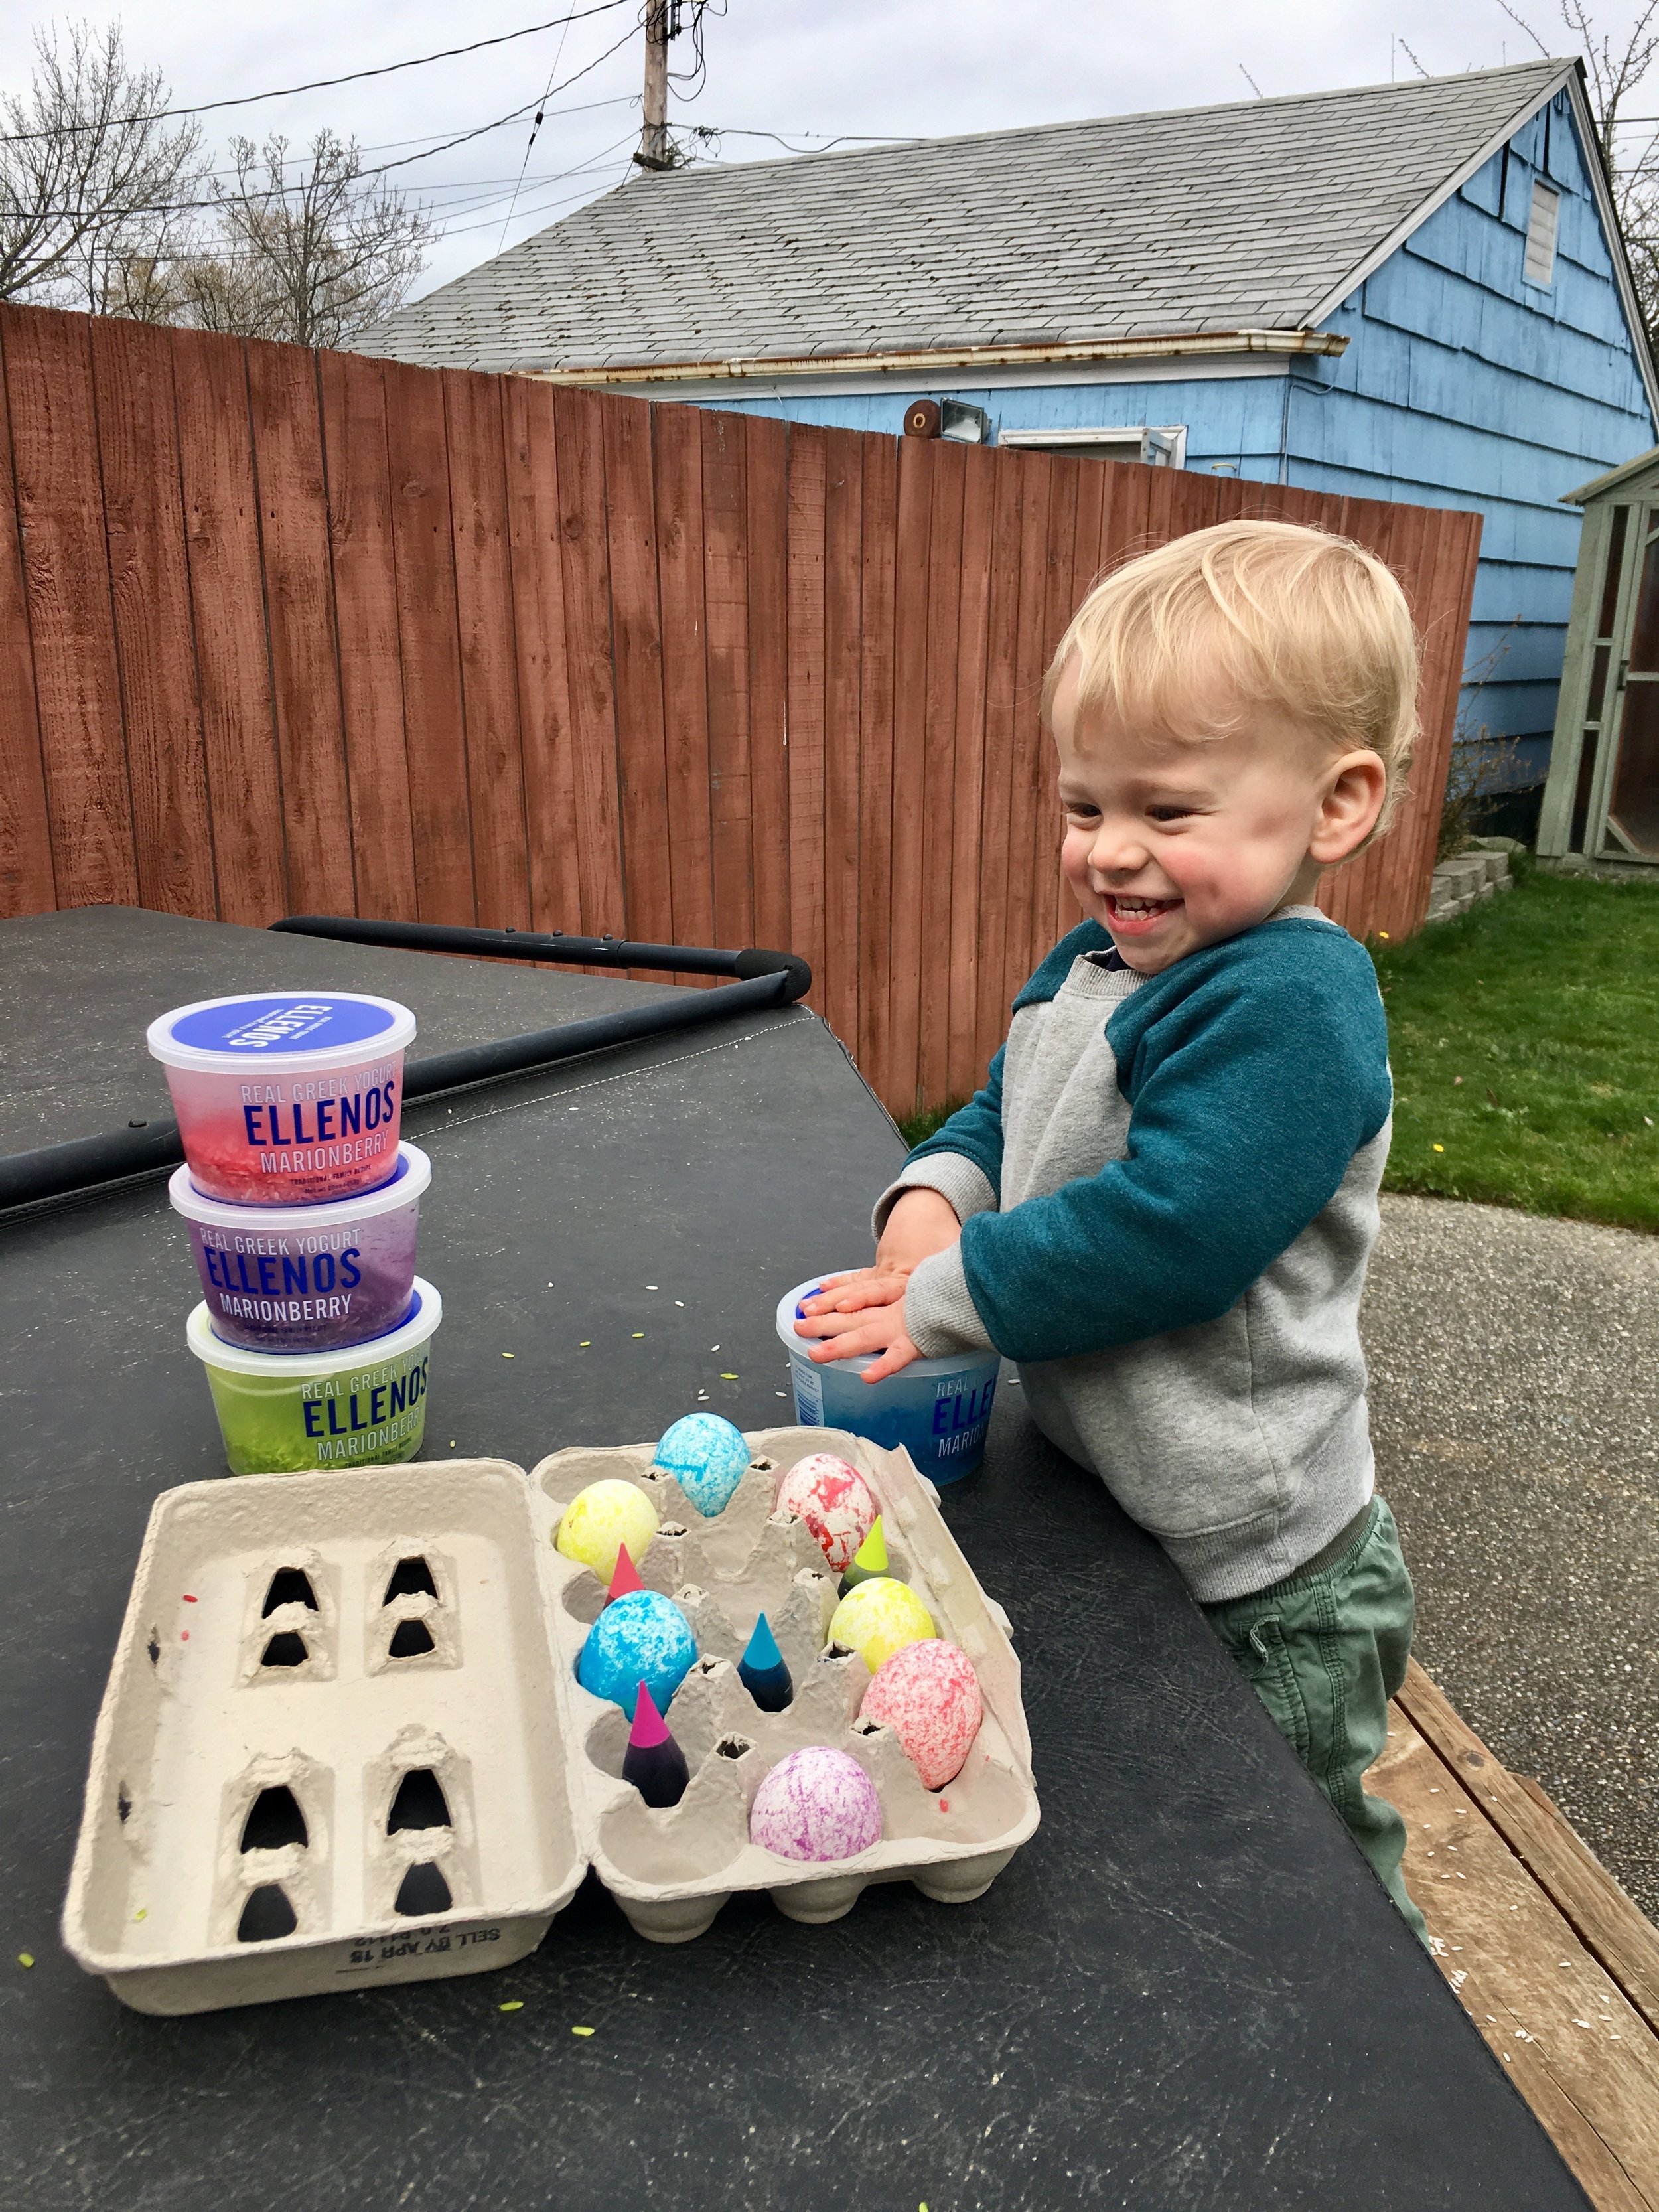
Overall, I felt like this craft a mom win moment. Caleb was intrigued by the whole process and wanted to touch and do all. the. things. I don’t think he would have been able to be as involved in the Kool-aid, or regular dye projects. He’s too hands-on — a curious fellow, I tell you. He wanted to put the egg into the container and then back out when the coloring process was over. He loved shaking the containers, although I did have to get him to go easy on the shaking a few times. When we took them out after shaking, he said, “wow!” Ahh, too cute. He even straightened the egg’s position in the crate.
The whole activity only took like 30 minutes, or so. We did it outside so clean-up was easy and no worries about too much mess (and thank goodness for no rain!)
Here’s how we did it…
1. Gather Supplies
- Hard Boiled Eggs - I did the oven method and it worked great (I baked them during Caleb’s nap)
- Containers (or ziplock baggies) - can you tell what yogurt I like to eat? I knew keeping these containers would come in handy someday.
- Food Coloring - I got rad neon colors
- Rice - just some cheap stuff
- Spoons - plastic so you can toss them at the end
2. Prepare Everything
Put about 1/2 cup of rice into each container (I did this during Caleb’s nap).
Get everything lined up - the dye and spoon next to each container. Have the eggs nearby (but out of toddler’s reach. I learned this the hard way, and we lost an egg.)
3. Color and Shake
Put about 12-14 drops of coloring into each container. Then stir it around with the plastic spoon. Place the egg inside, secure the lip, and hand it to the toddler to shake. While the tot shakes, prepare the next container and color.
I let the egg sit in the rice for a couple of minutes, even when we were done shaking. If the color isn’t bright and/or coverage of color on the egg isn’t enough, just drop a few more drops in and shake immediately. Remove the egg from the rice and put in a crate or basket. We just used our hands to pick them up since they were pretty dry.
4. Round Two
We made eight hard-boiled eggs, so two for each color since the normal food coloring packet comes in four colors. Of course, that is until one dropped, so we had to pick our least favorite color to skip in round two. Also, I noticed the coloring dried fast on the rice, so I added more drops in as we put the second egg. Then shake shake shake. Remove and done.
5. Clean Up
I dumped all the rice into one container to keep. The rice was fun and colorful, and usable for a fun project on some future day. I recycled the containers and spoons and put the eggs into the refrigerator.
Boom! We now have pretty Easter eggs to display on Easter.
If you haven’t made Easter eggs yet, then give this a try. The supplies are easy to find, cheap, and it’s fun for all. It’s not too late; get crafty!!


